WIRIS Ethernet Stream SDK Programming Guide
Introduction
WIRIS Ethernet Stream SDK Guide is designed to stream video from the WIRIS and to control it via an Ethernet connection. The WIRIS camera runs the TCP/IP server, which can be controlled using simple text commands. Please refer to the SDK manual for a detailed description of the communication protocol.
In this guide, we will create a sample application that can communicate with the camera via text commands. We will use Boost ASIO library (https://www.boost.org/) for that purpose. However, you can also use another library that supports network programming.
1.
Create a new C++ project in your IDE and link the boost ASIO library. If you are using Visual Studio, add boost and include files to Additional Include Directories and binaries to Additional Dependencies in Project Properties.
2.
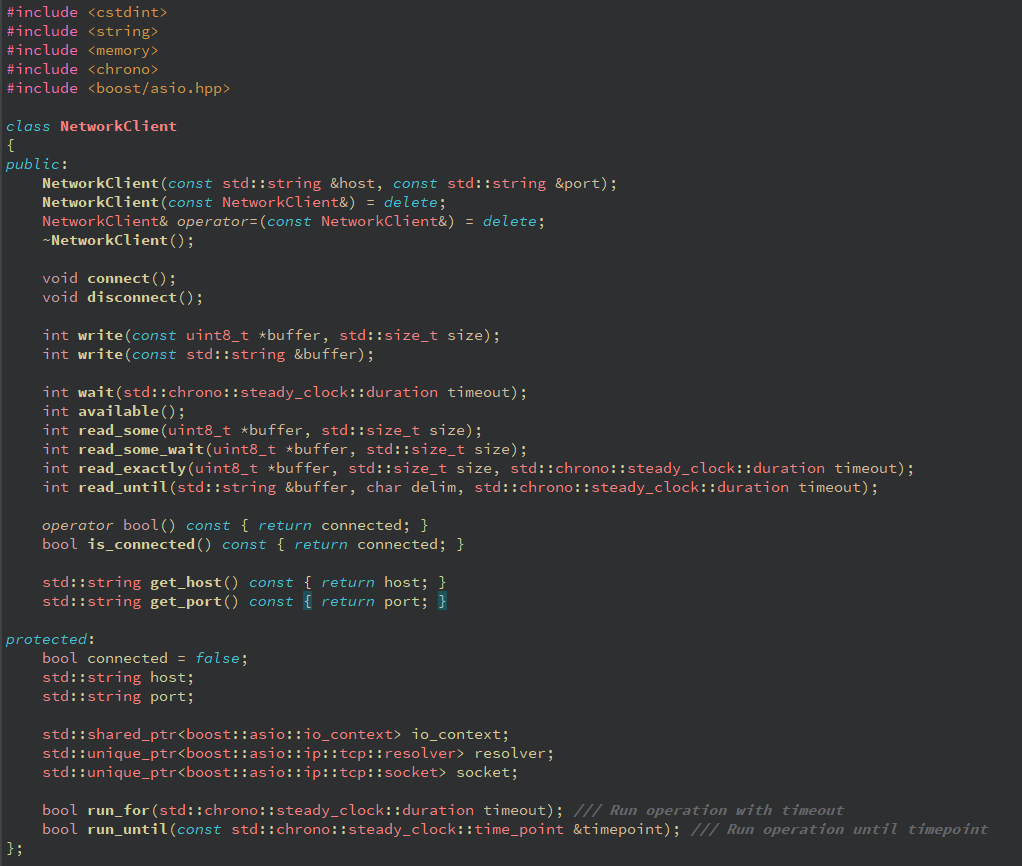
Create a new class Network Client, which will implement sending commands.

Copy the code for the NetworkClient from the pastebin: https://pastebin.com/fbrmu37b
3.
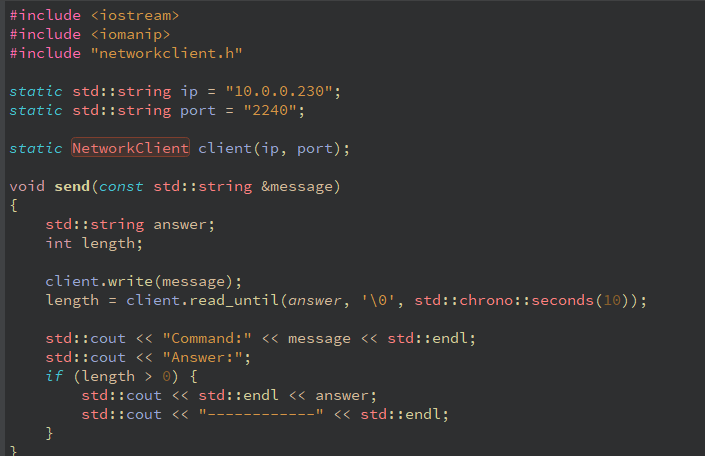
Now we are ready to use the NetworkClient to communicate with the WIRIS device. In the main source file, create a function for sending commands through NetworkClient, which will also print a response.

4.
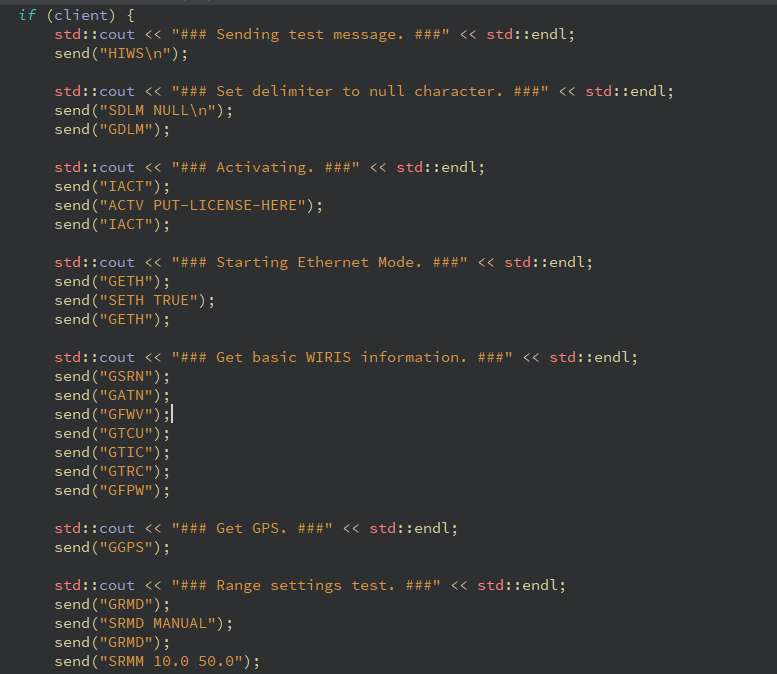
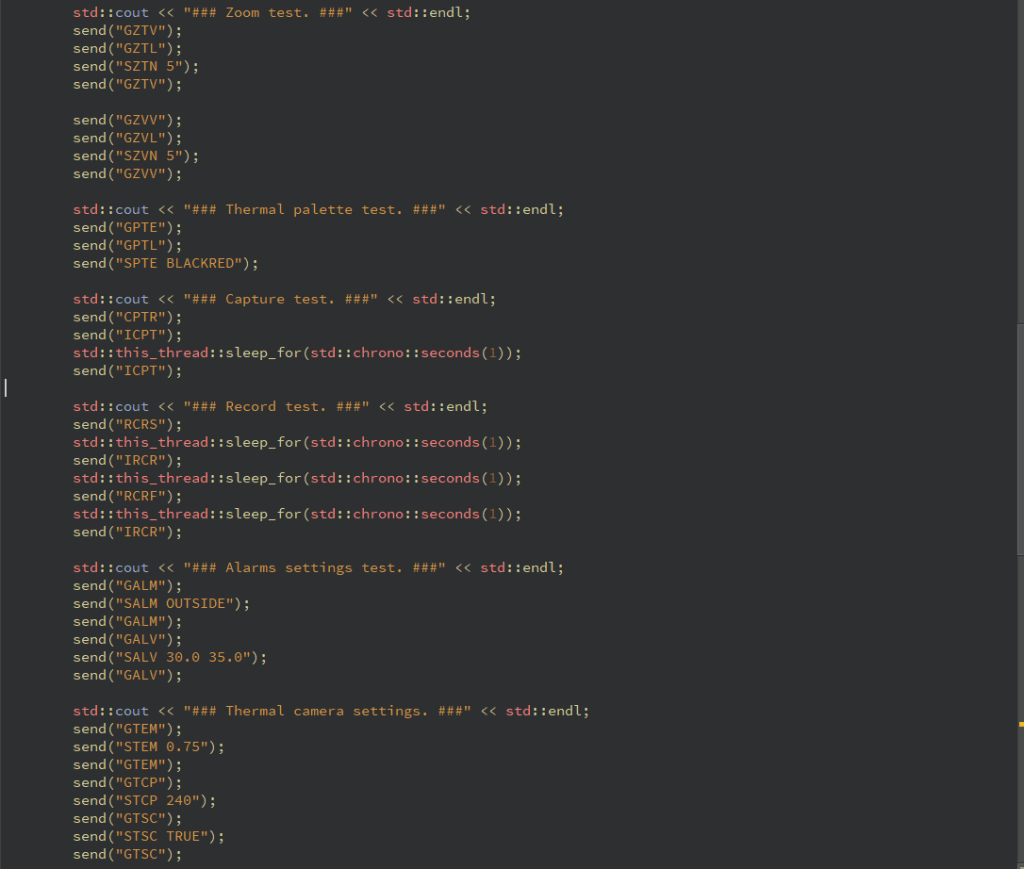
Now we can test communication with commands. Verify that you have the correct license code for Ethernet mode activation. You can activate Ethernet mode using native camera firmware and by using commands (Figure 2).


5.
After running this sample code, you can check all WIRIS responses and make sure everything works correctly by reading the program standard output (the console output).
Example
For example, in the Ethernet Stream SDK GUI, the application workflow is as following:
1.
The first step is to call the connect method, with the WIRIS IP address as passed argument
bool ControllerCore::connect(const QString& ip)
{
    //network client class takes care of TCP layer of application
    //it takes wiris ip and communication port(2240) as constructor parameters
    //from now on it is fairly easy to call method send on network client instance with any command as parameter
    //network client should automatically disconnect from WIRIS in its destructor
    if(this->_networkClient == nullptr || !*this->_networkClient || !_connected)
        _networkClient = std::shared_ptr(new NetworkClient(ip.toStdString(), this->_endpointPort.toStdString()));

    if (*_networkClient)
    {
        std::istringstream iss;
        //Sending test message
        if(!send("HIWS\n", iss) || !isPositive(iss.str()))
            return false;

        //Setting delimiter to null character
        send("SDLM NULL\n");

        //checking camera type
        fetchBasicInfo();
        if(_cameraType != _vals.wirisProType && _cameraType != _vals.wirisSecurityType)
            return false;

        //we are now connected, so we can save passed IP as valid application state
        _endpointIp = ip;

        //we can even save it to local storage so app could remember last used ip on startup
        setLastIp(_endpointIp);
    }

    _connected = *_networkClient;
    emit connectedChanged(_connected, 10);

    return _connected;

}
2.
activate method – if the activated method returns false, this indicates that the SDK has never been activated. To activate it, call the activate method with your activation code as the passed argument.
bool ControllerCore::activate(const QString & actStr)
{
    if (!isActivated())
    {
        std::istringstream iss;
        if(send("ACTV " + actStr, iss) && isPositive(iss.str()))
            return true;
    }
    else return true;

    return false;
}
3.
activate method – if the activated method returns false, this indicates that the SDK has never been activated. To activate it, call the activate method with your activation code as the passed argument.
bool ControllerCore::setup()
{
    //checking whether connect function was called
    if (*_networkClient) {
        if (!this->isActivated())
            return false;

        //Starting Ethernet Mode
        send("SETH TRUE");
        send("GETH");
4.
activate method – if the activated method returns false, this indicates that the SDK has never been activated. To activate it, call the activate method with your activation code as the passed argument.
bool ControllerCore::changeStorage(const QString & storage){
    if (storage == _currentStorage)
        return true;

    std::istringstream iss;
    std::string cache;

    if (storage == "SSD" || storage == "SD_CARD" || storage == "FLASH_DRIVE")
    {
        if (send("SILC " + storage, iss) && isPositive(iss.str()))
        {
            _currentStorage = storage;
            return true;
        }
    }

    return false;
}
4.
Full project: https://github.com/SoftwareWorkswell/EthernetStreamSDKGUI
When it comes to video streaming, any library that is capable of receiving an RTSP stream can be used, however, we highly recommend using GStreamer, which should be the fastest solution.
For this kind of solution, we used OpenCV 4.1.1 with GStreamer support (first install GStreamer runtime + GStreamer devel and then build OpenCV using CMake).
void ThermalThread::run()
{
#ifdef _WIN32
    const std::string addr(("rtspsrc location=rtsp://" + this->_ssrc.toStdString() + ":8554/thermal latency=250 ! rtph264depay ! avdec_h264 ! videoconvert ! appsink"));
#else
    const std::string addr("rtspsrc location=rtsp://" + this->_ssrc.toStdString() + ":8554/thermal latency=300 caps = \"application/x-rtp, media=(string)video, clock-rate=(int)90000, encoding-name=(string)H264, payload=(int)96\" ! rtph264depay ! decodebin ! videoconvert ! appsink");
#endif
    cv::VideoCapture cap(addr, cv::CAP_GSTREAMER);
    if(!cap.isOpened())
    {
        qDebug() << "visible: Input error"; *_stream = false; return; } cv::Mat frame; while(*_stream) { cap >> frame;
        if (frame.empty())
        {
            qDebug() << "thermal: empty frame occurance, stopping stream!";
            break;
        }

        cv::cvtColor(frame, frame,cv::ColorConversionCodes::COLOR_BGR2RGB);
        zoomImage(frame);
        streamFrame = new QImage(reinterpret_cast<uchar*>(frame.data), frame.cols, frame.rows, static_cast(frame.step), QImage::Format_RGB888);
        drawExtremes();
        emit imageSourceChanged();
    }
    cap.release();
    *_stream = false;
}

</uchar*>